
Resurrecting a PowerMac G4

A friend who has returned to studies, and therefore low on cash, had bought a second hand PowerMac G4 Mirror Drive Door model. After a good many years of service with the previous owner, and a year with him, the G4’s power supply died, as that model is inclined to do.
Repairing the powersupply is dangerous and difficult, and obtaining a second hand replacement is expensive, and that model was notorious for how loud the power supply was.
It turns out it is possible to replace the power supply with a PC ATX powersupply. The one downside is the +28V supply is missing, but this is only used to power the ADC connector Mac displays that were sold contemporary to the PowerMac G4. My friend has a standard DVI LCD, which doesn’t require that voltage, so the task seemed feasible.
While I could have bought a PC powersupply, being NYC, it turned out that Jill, Jordan and I found a PC with an intact power supply on the street quicker than a retailer. The powersupply only required lugging home, removing from the case, and blowing massive amounts of dust out of it with compressed air. Testing it involves shorting the PS OK pin to GND and a digital multimeter to verify the voltages. The specs printed on the supply showed it exceeded that required by the G4.
The task consisted of removing the ATX power supply connector, and connecting the G4’s connector, using the G4 pinout (viewed from the connector and viewed from the motherboard). I opted for soldering the existing wires, rather than trying to extract the pins of the connector and replacing them. I’ve done that on other multipin connectors and it’s possible, but time-consuming, and it’s easy to break a connector. With a newly acquired heat gun for heat shrink tubing, the cables were able to be safely connected, although it puts a limit to how much opening and closing the case (and therefore flexing the cable) that can be done.
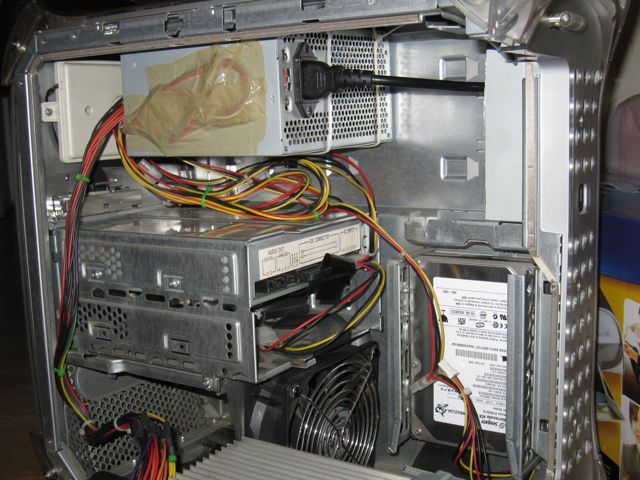
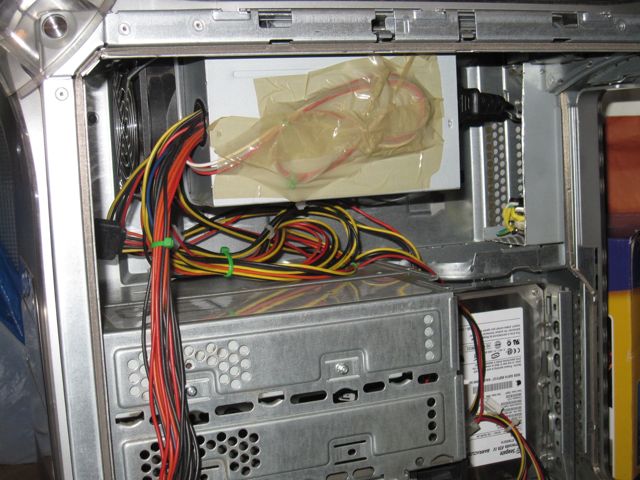
As others have observed, the PC power supply won’t directly fit into the space of the original power supply, but can be mounted closer to the front of the case. To finish the job, I likewise made an extension lead so the power connector remains in it’s original location and connects to the power supply located inside the case, above the DVD-ROM, mounted to the roof of the case with cable ties.
So far it seems to work fine, although there might be an issue waking from sleep caused by the new power supply. So far it has worked ok and Jamal is able to use it again for his studies.

Good news and bad news
The good news:
In NYC, the street shall provide.
The bad news:
Leigh is a mad scientist with a heat ray.